
Good Compost
Composting garden waste is an important part of the gardening cycle and the more of the waste you can reuse in your own the garden the better, it will reduce trips to the local tip and the over following council collected brown bin and produce good organic matter to feed your garden so it is a win-win all round.
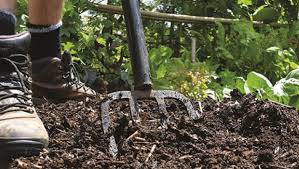
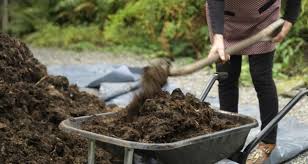
Digging compost into the ground
Some basic compost rules: Your compost bin, must be siting on the ground, whether bare soil or lawn, but never concrete or paving. As well as micro-organisms that are going to break down the plant waste so are warms and they need to be able to get to into your bin. You need at least 2 compost bins, 1 that is in use and the second one which was filled the year before and is now being allowed to rot.
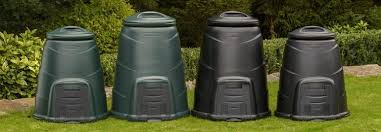
Vermin proof compost bin
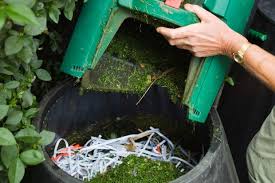
If you are going to compost food waste ( never cooked, or meat or fish) vegetable peelings etc., then this needs to be in a sealed vermin proof compost bin.
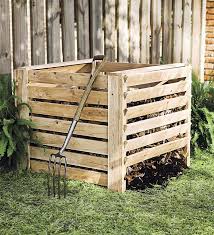
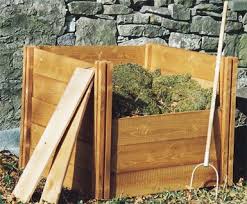
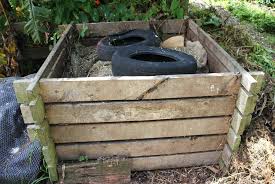
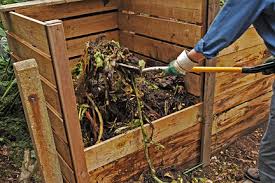
Wooden slatted compost bin
There are many compost bins on the market, or you can make your own. The basic rule is the bigger you can build your compost bins the better, as the larger the volume of decaying matter the better and faster it rots. Good air flow is also an essential for quick rotting.
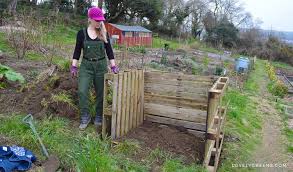
Building wooden compost bin
If you are building your own then a minimum workable size is a 1m x 1m by about 1m in height. Old pallets are good for the sides as they let the air in, or old scaffold boards cut to length with regular gaps left between the boards. The front wants to be open so barrows can be wheeled in and emptied, but as the garden waste gets higher there needs to be the ability to slot boards in across the front and slowly build the front up as the compost heap grows in time.
Adding boards to front of wooden compost bin
Now you are ready to get composting.
Composting: Use one bin at a time, all annual weeds can be composted,
DO NOT COMPOST perennial weeds, i.e. nettles, docks, bindweed, ground elder and mares tail (these will have to be taken to the tip or burned).
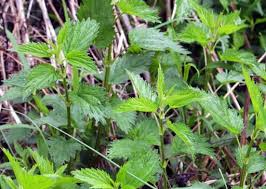
Stinging Nettles

Docks
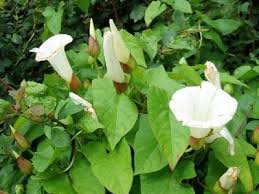
Bindweed
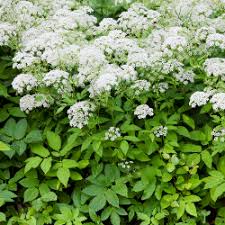
Ground Elder
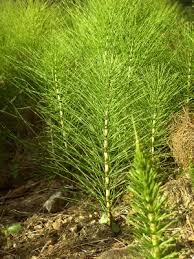
Mares tail
Grass cuttings and some fallen leaves, these make good ingredients for the compost; layer these including layers of shredded paper and the odd torn up cardboard box. Also ‘hard’ garden waste, this is everything that is not green, i.e. branches and stems, these will be very hard to compost if they are not chipped first, add chipped layers into the compost, or remove woody material from the garden. It is also important that the compost bin dose not dry out, so if the contents are looking very dry, put a couple of cans of water on it.
Adding shredded paper and grass clippings
To help speed up the composting, old carpet or blanket can be put over the top of the compost heap.
Covering the compost with an old carpet or similar.
There are two schools of thoughts either turn the compost regular every 4 to 6 weeks, this requires 2 bins, so the heap is regularly turn from one to the other, or leave in the layers, perhaps experiment to see what works best.
Turning compost
Once the bin is full it will take approximately 1 to 2 years to break down, it maybe quicker depending on how large the heap, the larger it is the hotter and the quicker it rots, also how dry it is and of course what garden waste is in it.

Digging out rotted compost from the compost bin ready for use
Leaf mould, this is a wonderful soil improver and almost any gardener can make this, no matter how large of very small your garden is. It can be dug in or act as a top dressing.
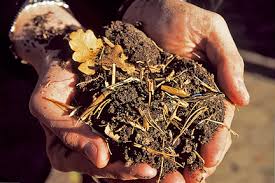
Rotted leaf mould
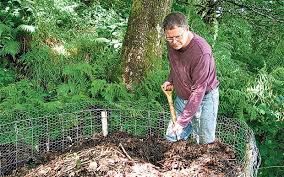
If you have enough space then you can build a leaf mould bin again 2 are needed. Each bin should be a minimum of 1 x 1m and 1m in height. A post on each corner and 4 strong straining wires set at equal distances up the posts, then attach the chicken mesh to the wires, again the bin will compost quicker if it is on soil. If you only have a small garden then black bin liners can be used and stored in a shady spot out of the way, like behind the shed.
Rake up and put some leaves in with the compost the rest to go in the wire bins, use one at a time, to speed up posses can cover the bin, or fill up a bin liners half full, twist the top and tie with string, next punch 5 to 7 holes in the bottom of the bag with a garden fork, store in a shady spot. It will take about 1 to 2 years for the leaves to rot and become leaf mould.
Digging out rotted leaf mould for use.
Food waste, even if you have a tiny court yard garden then you can produce good compost from food waste.
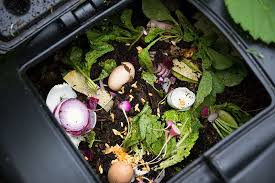
Putting food waste into a vermin prof compost bin
A rat proof compost bin (provide by the local council, or brought from a good garden centre) place on bare earth. For all vegetable, bread, eggshells and food waste. This must be placed onto the bare soil. Layer the food waste with shredded paper and unprinted cardboard torn up. Do not allow the compost to dry out. It will take 1 to 2 years to rot.
Digging out rotted compost from the compost bin ready for use
Now you should have all the knowledge you need to be a compost master.
Good Luck!