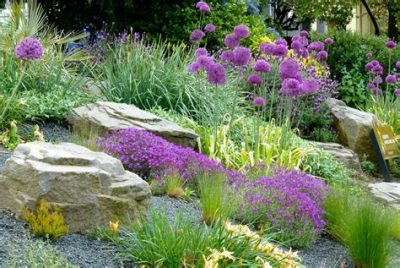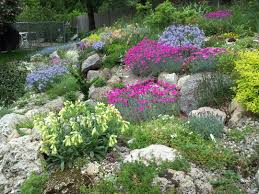
A large winter bedding display
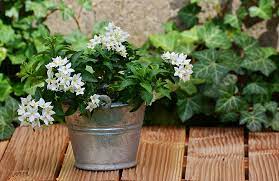
A container planted with a selection of winter bedding and good foliage colour can really lift the winter blues. The planting can add a welcome splash of colour. Whether by the front door as a welcome to your home or at the back door to cheer you after a muddy dog walk or near the garage of shed as you head to and from the car or to get to the logs, winter containers are a mini garden of colour that are well worth having in the depths of winter.
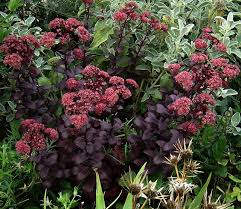
A container to celebrate, shades of red.
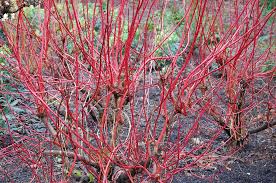
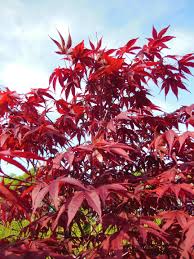
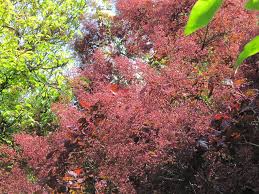
Cornus alba ‘Sibirica’
Cornus alba ‘Sibirica’ This wonderful cornus is all about the beautiful rich red winter stems. Either plant a small plant or Cut stems from an existing plant somewhere else in the garden. These cut stems can be the back bone of your winter display. Cut to short lengths to add through the planting or group together in a tall stand, to add height and extra wow factor.
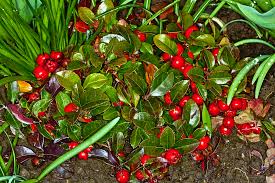
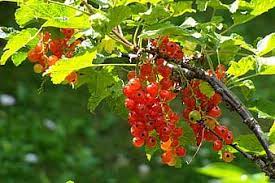
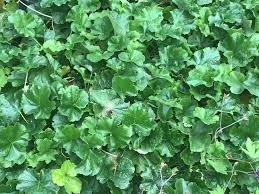
Gaultheria prcumbens
Gautheria procumbens: Is a main stay of winter displays. A small compact shrub with glossy dark green evergreen leaves, small white flowers in the summer give way to large marble sized bright red berries held through the winter months. Perfect towards the front of your container. Acid loving.
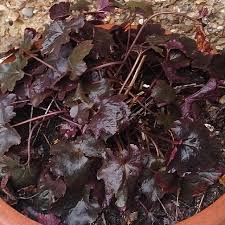
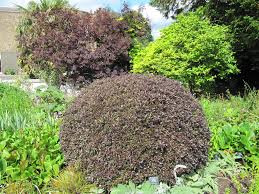
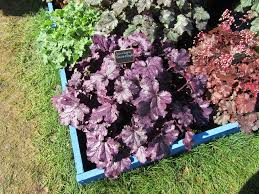
Heuchera ‘Chocolate Ruffles’
Heuchera ‘Chocolate Ruffles’: A superb foliage plant and a must for a winter container. Mound forming evergreen perennial with dark purple wavery edged leaves , stems of small creamy white flowers in the spring. A good plant for the middle of the container.
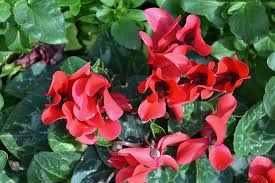
Cycleman persicum ‘Rouge Ecarlate’
Cyclamen persicum ‘Rouge Ecarlate’: This a stunning small flowered bedding cyclamen flowering well from Autumn to mid winter, as long as there are not hard frosts, so a more sheltered spot would be best. Clumps of beautiful silvery patterned leaves and delicate clumps of brilliant red flowers, perfect for the front of the winter container in a small group, to tie all the shades of red together. Dead head regularly.
A winter container with shades of yellow.
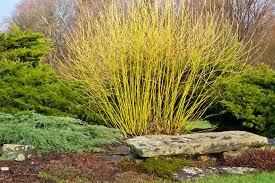
Cornus stolonifera ‘Flaviramea’
Cornus stolonifera ‘Flairamea’: A wonderful bright yellow sulphur green stemmed cornus. A small plant can be planted to fill the container for a couple of winters only before it becomes to large for it’s position in the container. Or you can cut use cut stems to create a central feature of different heights in the container or as a tall back drop statement.
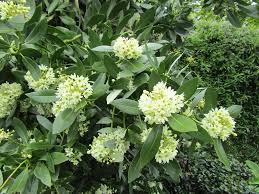
Skimma japonica ‘Kew Green;
Skimma japonica ‘Kew Green’: This is a brilliant winter flowering shrub with a domed compact habit, it will in time get to large for a mixed planted winter pot, unless it is a solo star in it’s own pot. But it should be alright for a few years. Glossy mid green evergreen foliage and a mass of upright flower stems held through the winter in tight green white buds opening towards the end of winter early spring with a mass of very highly scented flowers. A complete must for the winter display. Acid soil that is humus rich.
Heuchera cylindrica ‘GreenFinch’
Heuchera cylindrica ‘Greenfinch”: This is a striking taller heuchera with clumps of evergreen ruffled leaves in a acid sulphur green with hints of yellow. Small flowers of white follow in the spring. A wonderful addition to the middle of the container.
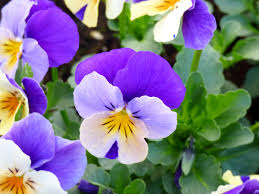
Viola grandissimo ‘Icy Blue’
Viola grandissimo ‘Icy Blue’: A wonderful free flowing winter pansy with delicate soft yellow face with light mauve edging. Dead head regularly to keep the flowering going. The flowers will be a bit shy in the coldest blasts of the winter but will come back when the English damp winter reappears. Plant at the front of the container to flop over the edge and link with all the different foliage colours.
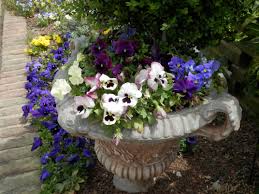
winter container planting
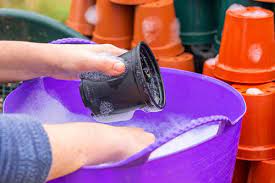
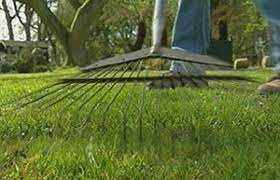
Top tips: Decide where to site your container to make the most impacted and to be seen the most. It should be in full sun and a bit of shelter from the blasting winter winds if possible, if cyclamen are a feature or you are using a lot of winter flowering pansies then a little protection from the worst of the frost would be good, slightly under the house overhang or near a wall etc. Make sure it is large enough for the plants to grow through one winter season and even up to 3 with the shrubs. The pot/container must have good drainage holes and add crocks to the bottom to help with the drainage. The compost mix should be peat free. If you are planting Gutheria or Skimma then the compost must be for Ericaous plants ( acid loving) all the other plants I have suggested will do well in any good multi-purpose compost. After a few years the shrubs may well need re-homing in a flower bed in the garden as they will become to large for a container, but depending on the container size and the size of the plants to start with you should get a few years from them as ‘winter container stars’
I hope I have inspired you to get cracking with creating your winter display. Enjoy!