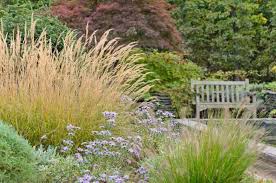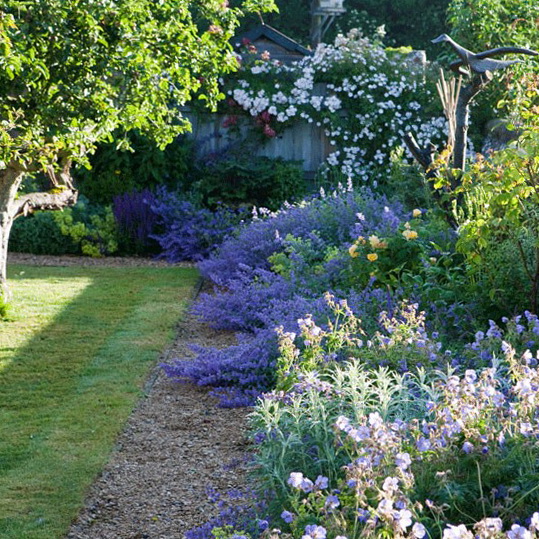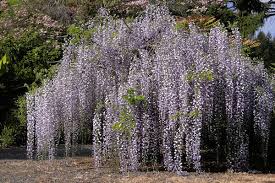
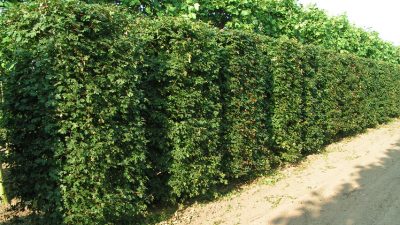
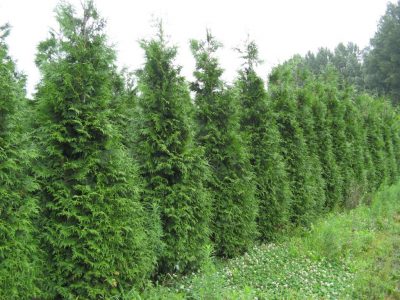
A mature shelter belt.
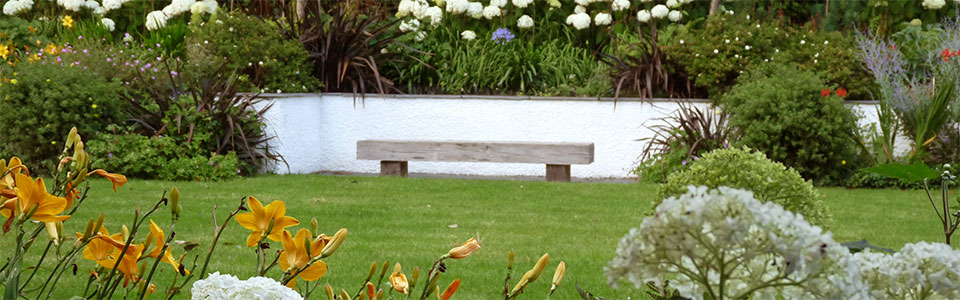
Now is the time of year when autumn winds and winter gales start to threaten that it is a good idea to see if the planting of a shelter belt or taller hedge can help to protect your garden. These natural living barriers help to reduce the wind and when species of different heights are chosen the wind can be slowed down and filtered, to create a milder and more sheltered aspect with in the centre of the garden. Here are some suggestions.
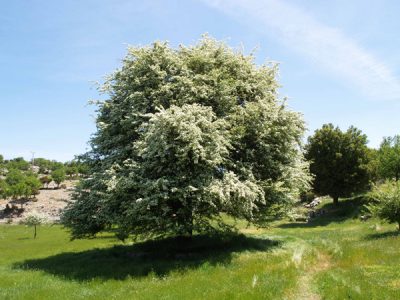
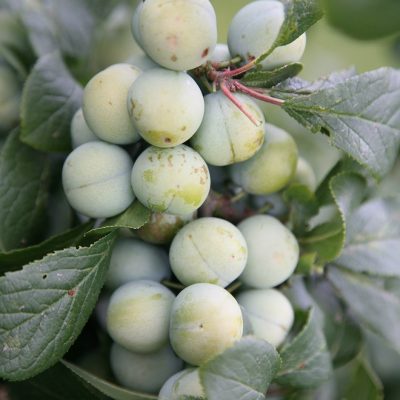
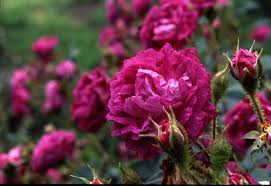
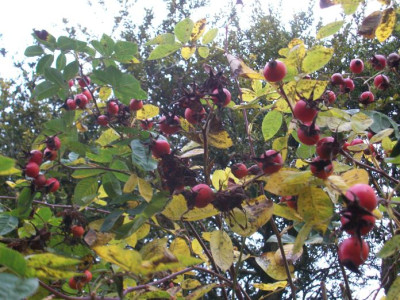
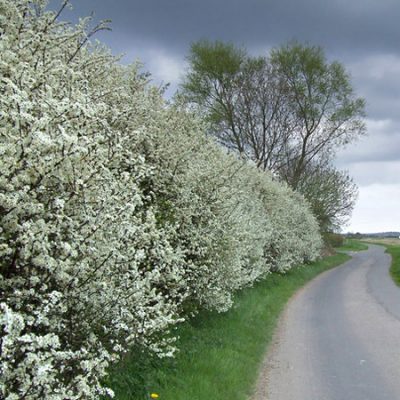
Crataegus monogyna
Crataegus monogyna: the native ‘Quickthorne’ seen through out the countryside, with small mid green leaves, clouds of white blushed pink flowers in May, butter yellow autumn colour and round blood red berries produced from September onwards, beloved by birds. It can grow to a tree of 5-6m or be grown as a dense hedge up to any height or be used as the scrub under story in a shelter belt planting. Very hardy will cope with strong winds including sea gales. Grows in almost any soil sun to part shade.
Acer compestre
Acer compestre: The native Acer to Britain. Makes a striking small to medium tree of 6-7m, with round habit. Also a very good hedging plant and it will be seen in mixed field hedging. Small palmate leaves of light green turning a golden yellow in autumn. Very hardy and will cope with strong winds. Grows on thin chalk soils to heavy water logged soils.
Thija plicata
Thija plicata: A superb conifer, making a dense tall evergreen hedge that will cope with salt winds, or used in a mixed shelter belt, with mid green foliage and a conical habit up to 6m tall. Will tolerate a wide range of soil conditions from damp to thin chalk soils.
Elaeagnus x ebbingei
Elaeagnus x ebbingei: A wonderfully tough evergreen shrub, with a shaggy habit, which can be an invaluable part of the lower story of a mixed shelter belt or can be clipped to produce a tall wind break hedge. It will cope well with windy seaside conditions. Dark green leaves with a silvery white underside and small white flowers, there are many golden variegated forms. Grows in most soils but does not like waterlogging. 2.5-3m
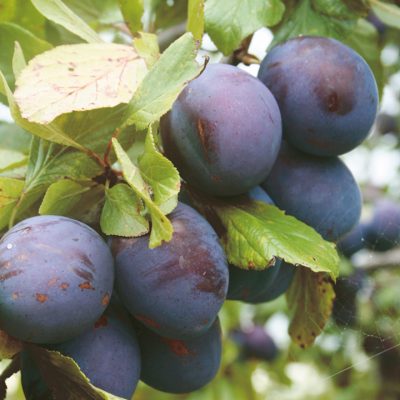
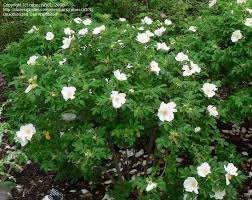
Prunus spinosa
Prunus spinosa: the native Blackthorn/sloe. A dense spiky shrub for the under-story of a mixed planting shelter belt or as a small tree up to 3-4m. Seen in mixed field hedges though out the countryside. The first blossom of the season with small white almond scented flowers mid to February to early March, produced on naked stems. Small mid green leaves which go a light yellow in the autumn. Bitter small dark blue fruits produce late summer early autumn, good for making sloe gin. Tolerates strong winds. A valuable addition to a shelter belt.
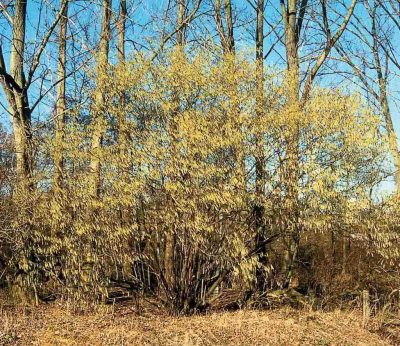
Corylus avellana
Corylus avellana: the native ‘hazel’ grown as a tall hedge, or coppiced under-story in a shelter belt or as a tree of 6m tall in a shelter belt. Catkins are formed in Autumn and then open in mid winter along the bare stems, round mid green leaves with golden autumn colour and nuts which feed wildlife. Tolerates strong winds, and almost all soil conditions, except very dry chalk.
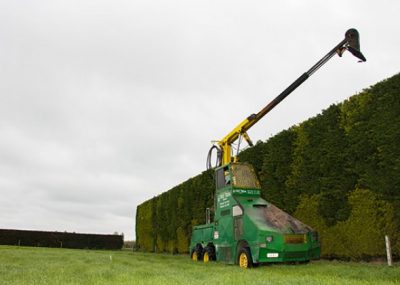
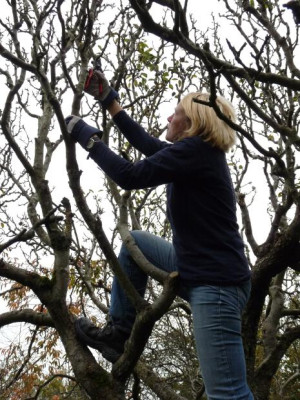
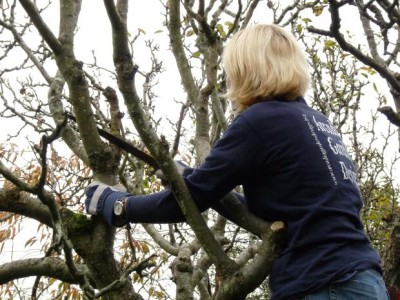
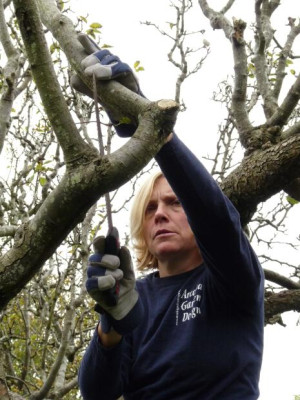
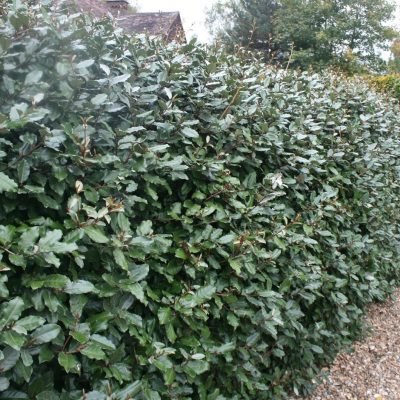
cutting a tall Hedge.
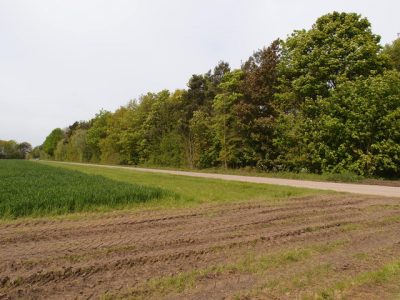
For a mixed shelter belt, plant trees 2 to 4m apart in rows of staggered lines, plant groups of shrubs to form the under story, at 45-90cm apart. For wide shelter belts, plant the taller trees in staggered rows down the centre with under story shrubs in rows on the windy side and inward side of the belt, with lower under-story planting under the central rows of trees.
For tall hedges plant at least 2 staggered rows if not three, of the same species.
Now is the time of year to get planning your shelter belt or wind break hedge, with the best time to plant in the bare root season which is the end of November early December up till about the end of February or the first half of March. Use bare root or root balled stock, to get the best value for money. Also planting small stock helps aid establishment. Also use, grow tubes, rabbit guards and mulch mats. Don’t forget your new planting may well need watering through the summer months for the first few years to aid establishment and it will need grow tubes removing and rabbit spirals and mulch mats checking. Also it will need on going maintenance over the years.
If you want help planning a shelter belt and windbreak, and need it planting, I know just the woman who can help you. Give me, Emily a ring on 01273 470753.