Winter Rose Pruning.
January is a good time, in the mild South-East of England to carry out rose pruning. The principal reason for pruning roses is to maintain health and vigour. The removal of dead and diseased and damaged wood is particularly important in roses. They are prone to a variety of aliments and when planted in their traditional form on mass in a roses garden disease can spread with ease. So good rose health is important and winter pruning is a way to improve this. The pruning is not just about removing dead and diseased wood but also about improving the shape of the plant and possibly it’s size but also to maintain an open ‘airy’ habit that will help prevent disease being harboured and spread.
Basic techniques: an angled cut 5mm above an outward baring bud. For cutting out dead and old wood to remove it from the rose, a square flush cut.
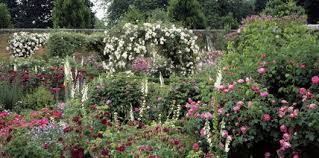
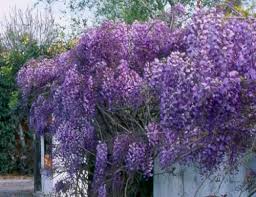
stunning roses at Mottisfont Abbey
So you can enjoy healthy roses with a long flowering season in the year to come.

R. Ruby Wedding. Hybrid-tea
Hybrid Teas: Remove any shoots that are dead,diseased or damaged, cutting back to healthy wood. Position cuts to encourage outward growth that will not cross the centre or other stems. Shorten all remaining growth down to a height of 20cm above ground level.
R. The Queen Elizabeth. Floribundas
Floribundas: Cut out all dead,damaged and diseased wood back to healthy growth or remove to the base of the plant. Remove any stems that are rubbing or likely to rub against one another. Shorten any laterals back to 2 -3 buds from the main stem, cutting to an outward facing bud. Shorten the remaining stems to 25 -30cm from ground level.

R. Arizona sunset. Patio-miniture
Patio/Miniature: Remove any dead,diseased or damaged growth. Relieve congestion by cutting out the oldest stems entirely. Tip prune main stems to remove any of last seasons flowers. Prune any laterals back to within 1 or 2 buds of the main stem.
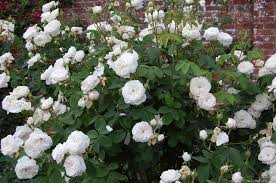
R. Iceberg. Stanard
Standard: Remove all dead, damaged and diseased growth, back to main stem. Remove any crossing shoots that may damage another stem by rubbing. Main stems shorten to suitably-placed buds and shoots, laterals cut back to a healthy bud.
R. Moyesii. Species
Species: Completely remove 1 or 2 old,very woody stems to the base. Remove all dead,damaged diseased wood. Remove all week stems. Remove all crossing stems that are likely to rub. Shorten all laterals to a side shoot or bud 5 -15cm from the main stem.
Old Garden Roses: Alba, Bourbon, China, Damask, Gallica, Mose, Portland, Provence Roses are all pruned the same way.
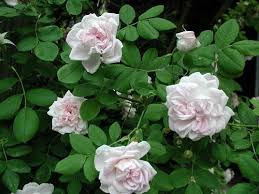
R. Great Maidens blush. Alba
Remove all dead, damaged and diseased wood cutting back to healthy growth or cutting to the ground. Remove any stems that are rubbing. Cut back the main stems by about 1/3rd . Reduce laterals by about 1/3rd to a strong healthy outward facing bud. Remove all low arching stems that will touch the ground.
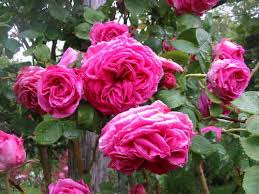
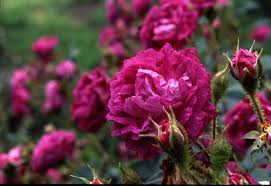
R. Madame isaac pereire. Bourbon
R. cecile brunner.China
R. Madam Hardy.Damask
R. Tricolore-de-flandre-Gallica
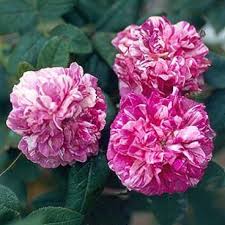
R. William Lobb. Mose

R. Jacques Roses. Portland

R. The Bishop. Provence
New English Shrub and Rugosa
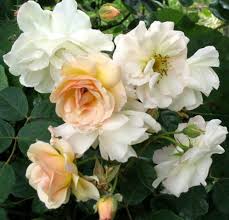
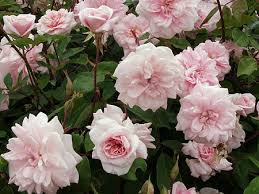
R. Penelope.New English shrub
Are pruned the same way.
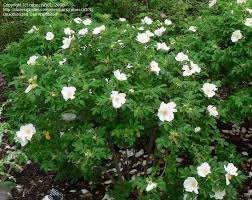
R. Rugosa alba. Rugosa
Remove all dead, damaged, diseased and rubbing growth back to healthy wood. When growth becomes crowded remove 1 or 2 of the older stems that have become unproductive down to the base. To maintain a compact habit and encourage good flowering tip prune a proportion of the side shoots on the outer edges of the plant.
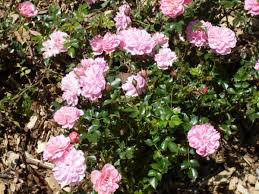
R. Pink bells .Groundcover
Ground Cover: These roses live up to their name with vigorous spreading habit, with side stems arching and hitting the ground, rooting and marching ever onwards so little pruning is required apart from ‘crowd control’ and removing any dead or diseased wood to healthy growth and pruning back hard to the base any stems heading skywards.
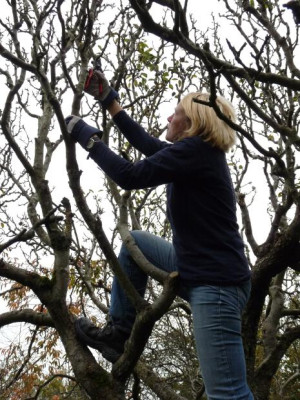
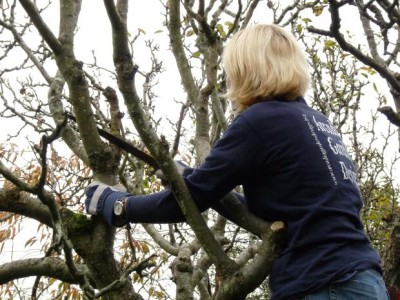
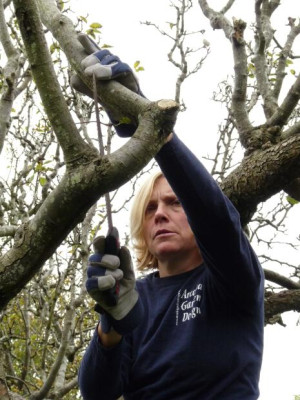
All this hard and very thorny work will give you healthy and free flowing plants that will look and smell wonderful come peak rose flowering season in June. If it is all sounding a bit too much like hard work, then I know a woman who can help you out! Give me a ring now on Tel:01273 470753 to book your January/February rose pruning session in.
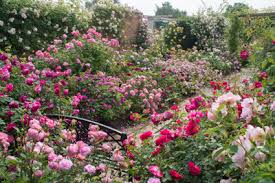
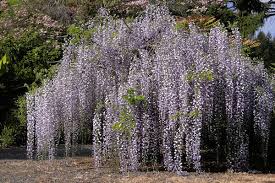
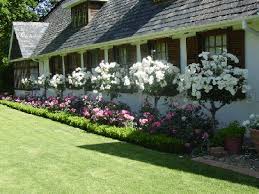
Roses at David Austin garden-and-plant-centre